Exploring the Artist's Study: Techniques for Capturing a Subject's Essence
- Lisa Stavinoha
- Dec 1, 2025
- 4 min read
Capturing the true essence of a subject is one of the most challenging and rewarding tasks an artist can undertake. The artist’s study is not just a preliminary sketch or a simple practice; it is a deep exploration that reveals the subject’s character, mood, and presence. This process goes beyond replicating physical features—it involves understanding and expressing the subject’s spirit through various techniques. In this post, we will explore how artists approach their studies, the methods they use to capture the essence of their subjects, and practical tips to improve your own artistic practice.

Understanding the Purpose of an Artist’s Study
An artist’s study serves multiple purposes. It is a tool for observation, a way to experiment with composition, and a means to practice capturing light, shadow, and form. Most importantly, it is a moment of connection between the artist and the subject.
Observation and Discovery
The study allows the artist to observe the subject closely, noticing subtle details that might be missed in a quick glance. This includes the way light falls on the face, the tension in muscles, or the unique posture that defines the subject’s personality.
Experimentation with Techniques
Artists use studies to try different approaches—whether it’s charcoal, pencil, ink, or paint—to see which medium best conveys the subject’s mood.
Building Confidence
Repeated studies build the artist’s confidence and skill, making the final work more assured and expressive.
Techniques for Capturing the Subject’s Essence
1. Focus on Gesture and Movement
Capturing the subject’s gesture is about more than just pose; it’s about the energy and flow of their body language. Quick gesture sketches help artists understand the subject’s natural stance and rhythm.
Use loose, flowing lines to capture movement.
Avoid getting caught up in details during initial sketches.
Practice timed sketches to improve speed and intuition.
2. Study Facial Expressions and Emotions
The face reveals much about a person’s inner world. Artists often spend time studying expressions to capture emotions authentically.
Observe how muscles change with different emotions.
Pay attention to the eyes—they often hold the key to the subject’s mood.
Use subtle shading to suggest depth and feeling.
3. Play with Light and Shadow
Light shapes the subject and creates mood. Understanding how light interacts with the subject helps bring the study to life.
Experiment with different lighting angles.
Use chiaroscuro (strong contrasts between light and dark) to add drama.
Notice how shadows define form and texture.
4. Explore Composition and Framing
How the subject is placed within the frame affects the viewer’s perception.
Try different cropping options to focus on key features.
Use negative space to highlight the subject.
Consider the background and how it complements or contrasts with the subject.
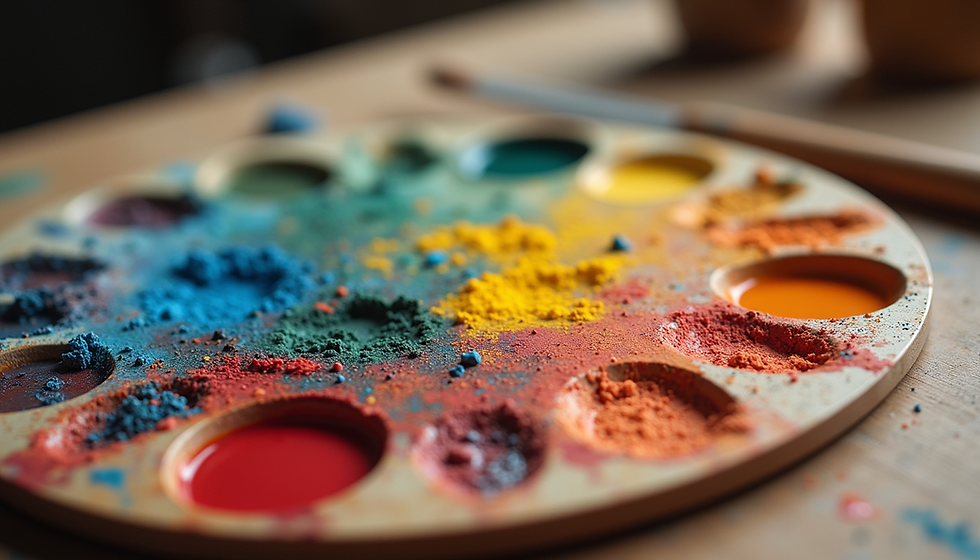
5. Use Color Thoughtfully
Color can express mood and personality beyond what lines and shapes can do.
Choose a limited palette to focus on mood.
Use warm colors to convey energy or cool colors for calmness.
Experiment with color contrasts to draw attention to focal points.
Practical Tips for Conducting Effective Studies
Start with Quick Sketches
Begin with fast, loose sketches to capture the overall form and movement. This helps avoid stiffness and encourages spontaneity.
Work from Life Whenever Possible
Drawing from a live model or subject provides a richer experience than photos. It allows you to observe subtle changes and three-dimensional form.
Use Reference Photos Wisely
When live subjects aren’t available, use photos but avoid relying on them exclusively. Try to understand the subject beyond the image.
Keep a Sketchbook Dedicated to Studies
Regular practice in a sketchbook helps track progress and develop a personal style.
Reflect on Each Study
After completing a study, take time to analyze what worked and what didn’t. This reflection improves future work.
Examples of Artist Studies That Capture Essence
Leonardo da Vinci’s Anatomical Sketches
Leonardo’s studies went beyond surface appearance. His detailed anatomical drawings revealed the structure beneath the skin, helping him capture realistic movement and form.
Edgar Degas’ Ballet Dancers
Degas used quick sketches to capture the fluidity and grace of dancers. His studies show movement and emotion rather than static poses.
Lucian Freud’s Portrait Studies
Freud’s intense focus on texture and flesh brought out the psychological depth of his subjects, making his studies powerful and intimate.
Common Challenges and How to Overcome Them
Getting Stuck on Details Too Early
Focus on the overall form and gesture before refining details. This keeps the study lively.
Lack of Confidence in Drawing
Practice regularly and embrace imperfections. Studies are about learning, not perfection.
Difficulty Capturing Emotion
Spend time observing real people and their expressions. Use mirrors to study your own face.
Overworking the Study
Know when to stop. Sometimes leaving a study slightly unfinished preserves its energy.
How to Use Artist Studies in Your Final Work
Studies are stepping stones to larger, more detailed pieces. Use them to:
Develop ideas and compositions.
Understand your subject deeply.
Experiment with techniques before committing to a final piece.
Build a visual library of poses, expressions, and lighting.
By integrating studies into your workflow, you create a stronger foundation for your art.


Comments